|
1) Open Windows Mail
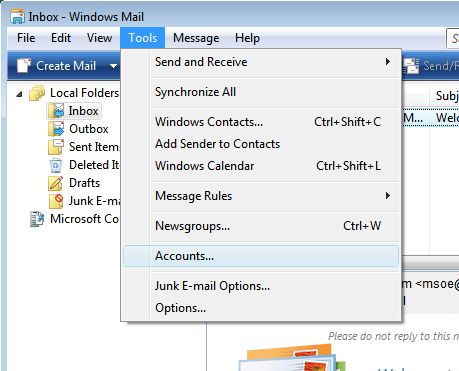
2) From the drop-down menus, select Tools > Accounts...
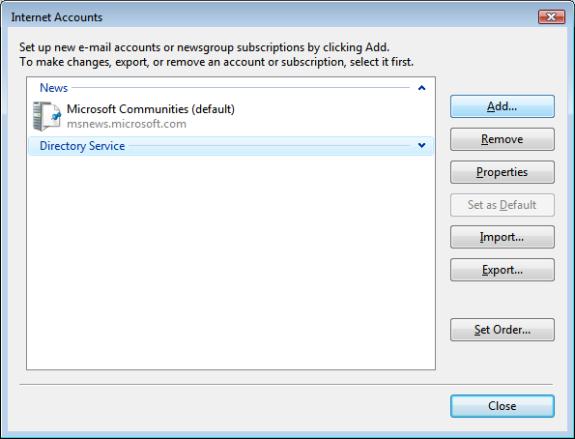
3) Click on the Add... button
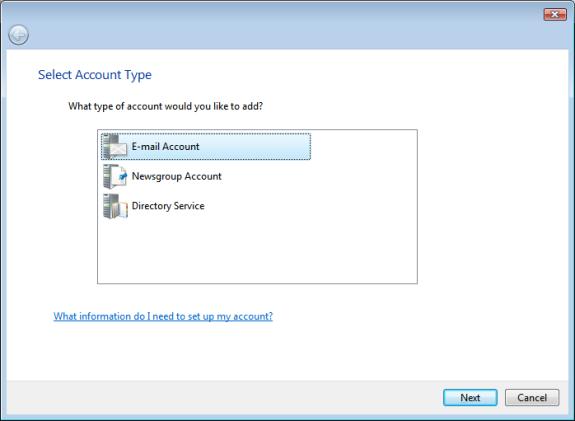
4) Select E-mail Account and click on Next
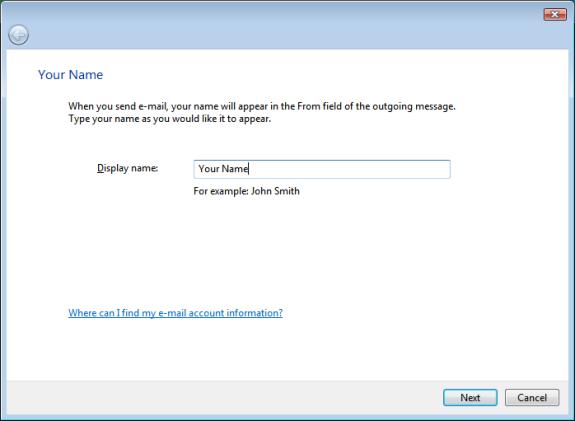
5) Type in your name as you want it to appear on messages you send. Then, click Next
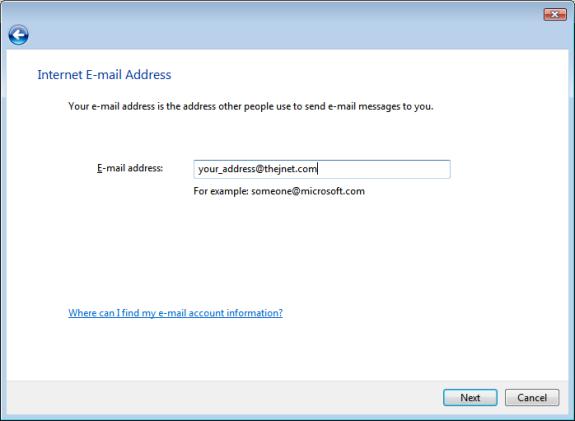
6) Type in your Jnet email address. Then, click Next
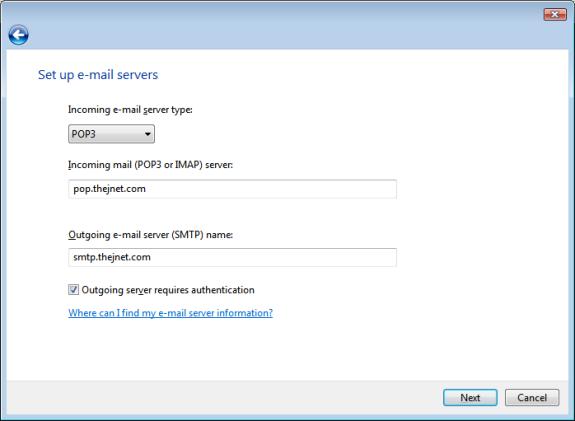
6) Type in the our mail server addresses, as shown in the picture below.
Incoming mail server type: POP3.
Incoming mail server: pop.thejnet.com
Outgoing mail server: smtp.thejnet.com
Remember to check the Outgoing server requires authentication option.
When you are done, Next
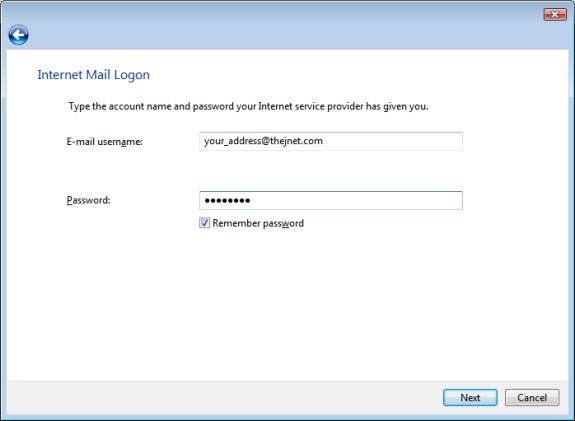
7) Type in your full email address as your E-mail username, and then enter your password.
When done, click Next
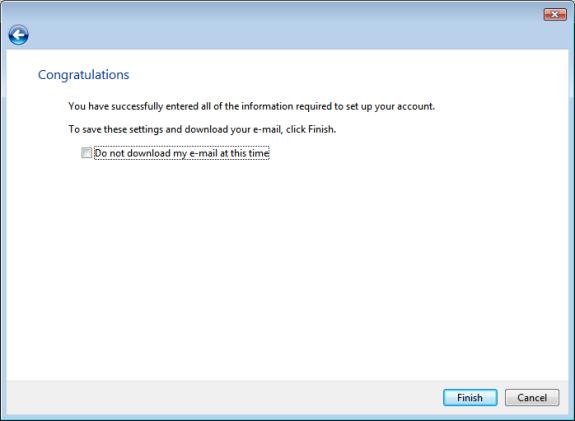
That's it, you are done. Click Finish to save your settings.
|